

Key Takeaways
Why Home Grooming Is Worth Learning
Professional grooming is wonderful — but it isn't always accessible, affordable, or stress-free for every pet. Learning to handle basic grooming at home means your pet gets consistent care between appointments, you catch small health issues early (like ear redness or broken nails), and you deepen the bond you share.
That said, grooming doesn't have to be a wrestling match. The key is building comfort gradually. If your pet is new to home grooming, start with just one task per session and keep it short — even two minutes of calm brushing is a win. Over time, most pets learn to tolerate or even enjoy the routine. For a deeper look at the behavioral side of this, see our guide to building a routine your pet will tolerate.
What you will need
Tools You'll Need
Having the right supplies before you start saves time and prevents mid-session scrambling that can startle your pet. You don't need an elaborate kit — a small set of quality basics covers almost every at-home task.
Slicker brush or grooming comb
Removes tangles, loose fur, and debris from the coat; type depends on coat length and texture.
Pet nail clippers or nail grinder
Trims nails to a safe length without cracking; grinders are gentler for sensitive dogs.
Pet-formulated ear-cleaning solution
Loosens wax and debris in the ear canal safely without irritating delicate tissue.
Pet-specific shampoo
Cleans the coat without stripping natural oils; human shampoo pH is too harsh for most pets.
Styptic powder
Stops minor bleeding quickly if a nail is accidentally cut too short.
Cotton balls
Used to gently wipe the outer ear during cleaning; never insert into the ear canal.
Non-slip bath mat
Prevents slipping during baths, which reduces panic and risk of injury.
Handheld shower sprayer or cup
Lets you rinse thoroughly and gently without startling your pet with strong overhead spray.
Step-by-Step: The Core Grooming Tasks
Work through these steps in the order that suits your pet's mood that day. You don't have to complete all four tasks in one session — in fact, for anxious pets it's often better to tackle one at a time.
Brush the coat
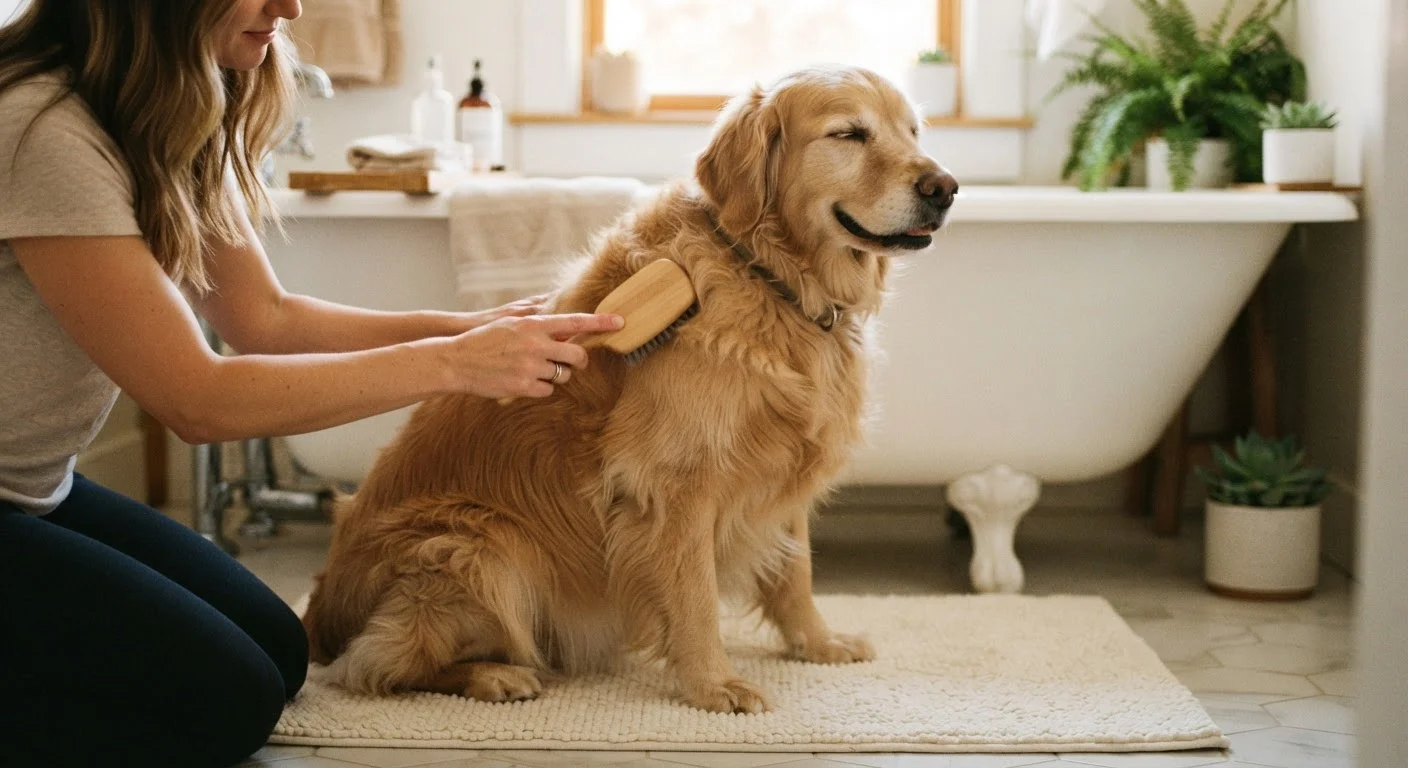
Begin at the head and work toward the tail, brushing in the direction of hair growth. Use short, gentle strokes and work through any tangles from the tip inward — never yank from the root. Spend extra time behind the ears, under the legs, and around the collar, where mats most commonly form.
For short-coated pets, a rubber curry brush or bristle brush a few times a week is typically enough. Long or double-coated breeds may need daily brushing and a slicker brush combined with a wide-tooth comb.
Trim the nails
Hold your pet's paw gently but firmly. Clip only the very tip of each nail — just past the curve — to avoid cutting the quick (the blood vessel inside the nail). On light-colored nails you can often see the quick as a pink area; on dark nails, clip small amounts at a time and stop when you see a dark dot in the center of the cut surface.
Clip one or two nails, treat and praise, then continue. If your pet is very resistant, it's fine to do one paw per session and build up from there.
Clean the ears
Lift the ear flap and apply a few drops of pet-formulated ear-cleaning solution into the ear canal. Gently massage the base of the ear for about 20–30 seconds — you'll hear a squelching sound as the solution moves through. Let your pet shake their head (this is normal and helps dislodge debris), then use a cotton ball to wipe away any visible wax or solution from the outer ear only.
Never insert cotton swabs into the ear canal, as this can compact debris or damage the eardrum.
Give a bath
Wet your pet's coat thoroughly with warm (not hot) water, starting from the neck and working toward the tail. Apply a small amount of pet-specific shampoo and lather gently, avoiding the eyes and inside of the ears. Rinse completely — leftover shampoo can cause skin irritation.
For dogs, a final rinse with a cup or handheld sprayer ensures thorough coverage. Wrap your pet in a towel immediately after and blot (don't rub) to reduce drying time. Allow pets to air-dry in a warm room, or use a blow dryer on the lowest heat setting held at a safe distance.
Don't Push Through Extreme Stress
If your pet is trembling, snapping, vocalizing loudly, or trying to escape persistently, stop the session. Forcing a highly stressed animal through grooming can create lasting negative associations and carries a real risk of bites or injury. Break the task into smaller steps across multiple sessions, and consider asking your vet about calming strategies for grooming-anxious pets.
When to Call Your Vet Instead
Home grooming is for routine maintenance, not medical treatment. Stop and contact your veterinarian if you notice any of the following: strong odor or discharge from ears, cracked or bleeding paw pads, lumps or sores under the coat, severe matting close to the skin, or if your pet shows unusual pain responses during grooming. These signs may indicate an underlying condition that needs professional attention. Our veterinary visit walkthrough explains what to expect if you do need to bring your pet in.
Make Every Session End on a High Note
Even if a session doesn't go perfectly, finishing with a treat, gentle praise, or a short play session helps your pet associate grooming with positive outcomes. Over time, this conditioning makes each future session a little easier. Consistency and patience are genuinely the most powerful tools you have.
This article provides general pet care information for educational purposes only. It is not a substitute for professional veterinary advice, diagnosis, or treatment. Always consult a licensed veterinarian with questions about your specific pet's health or grooming needs.