

Key Takeaways
Why a Structured Evaluation Matters
Buying a used car involves committing real money to a vehicle with an unknown past. Unlike a new car purchase, you're taking on whatever history — maintenance habits, minor accidents, deferred repairs — the previous owner leaves behind. A structured, step-by-step evaluation process helps surface issues before they become your financial responsibility.
This process is relevant regardless of where you're shopping. Private-party sales, independent dealers, and franchised dealerships all carry their own risk profiles. For a broader view of how the used car decision fits into overall vehicle shopping, see our end-to-end vehicle shopping guide. If you're still weighing whether to buy used at all, our breakdown of new vs. used vehicles covers the core trade-offs.
Inspect in Daylight, Never in a Dim Lot
Lighting conditions affect what you can see. Artificial or dim lighting in indoor showrooms or evening lots can mask paint imperfections, rust, and panel inconsistencies. Always schedule your physical walkthrough in direct daylight when possible. Bring a small flashlight for wheel wells, underneath the vehicle, and the engine bay.
The steps in this guide work for most standard used vehicles. If you're evaluating a classic or collector car, additional considerations apply — see our classic car pre-purchase checklist for a tailored walkthrough.
What you will need
What to Inspect, Verify, and Test
The inspection process moves from documentation to physical to mechanical — a logical sequence that prevents you from spending time on a vehicle that should be eliminated on paper first.
Vehicle History Report
Reveals past ownership, accident records, title status, and odometer readings associated with the VIN.
Flashlight or Work Light
Used to inspect wheel wells, the undercarriage, and dark areas of the engine bay.
OBD-II Code Reader
Reads stored diagnostic trouble codes from the vehicle's onboard computer to identify potential issues.
Licensed Independent Mechanic
Performs a pre-purchase inspection to identify mechanical, structural, or safety concerns the buyer may miss.
Pull the Vehicle History Report
Before you ever see the car in person, obtain a vehicle history report using the 17-character VIN. This report can reveal prior accidents, flood or salvage title designations, the number of previous owners, reported service records, and whether the odometer reading has been consistent across registrations. A clean report doesn't guarantee the vehicle is problem-free, but a troubled history is a clear signal to proceed cautiously — or walk away.
Conduct a Systematic Exterior Inspection
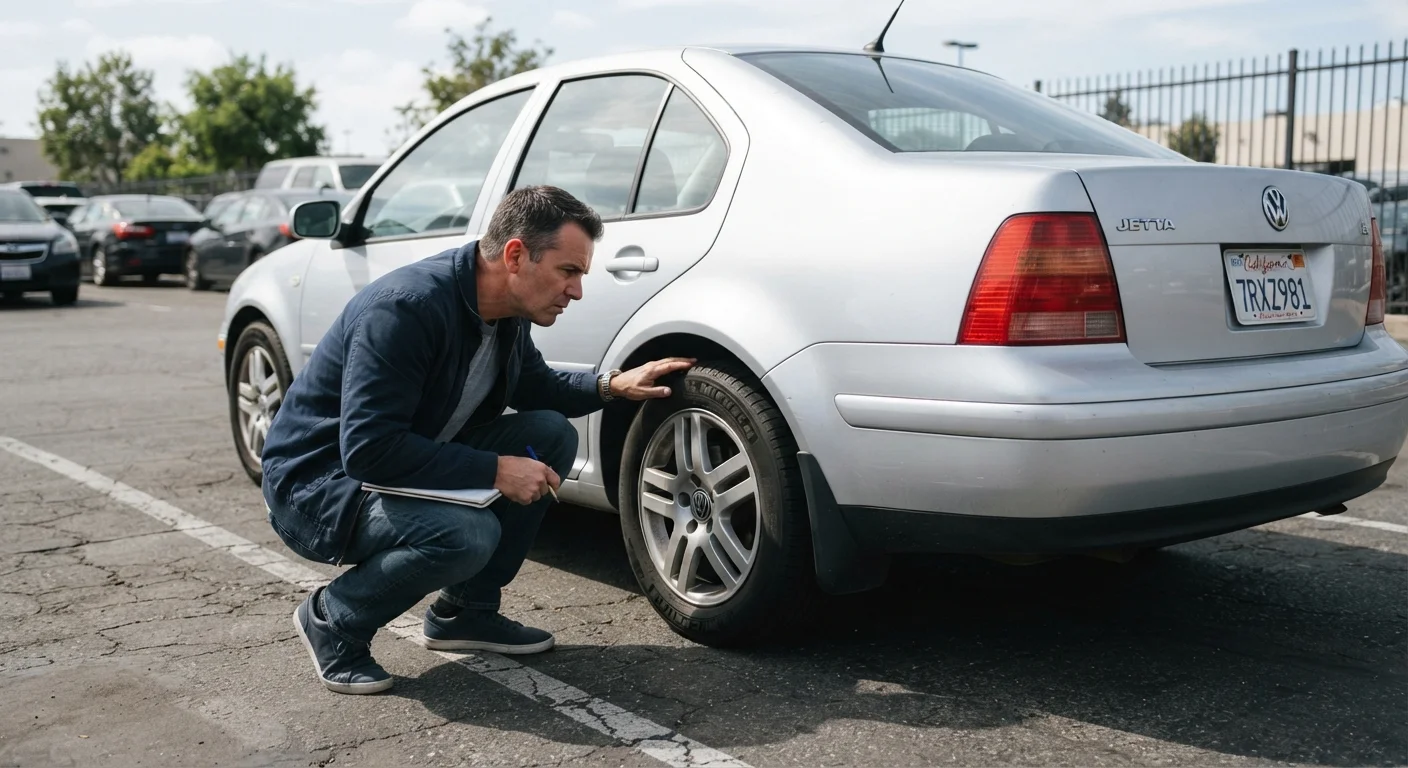
Walk around the vehicle slowly and look at each panel from a low angle to catch ripples, mismatched paint, or uneven gaps between panels — all of which may indicate prior collision repair. Check door and hood gaps for consistency. Inspect the wheel wells, rocker panels, and underside for rust, which can be structural in advanced stages. Look at the condition of tires: uneven wear patterns can point to alignment, suspension, or brake issues.
Inspect the Interior Thoroughly
Sit in every seat. Look for water stains on headliners or carpets, which may indicate a leak or flood history. Test every switch, window, lock, and infotainment feature — electrical gremlins are common on higher-mileage vehicles and can be expensive to diagnose. Check seat adjustment mechanisms, HVAC output, and warning lights on the instrument cluster. A musty smell can point to mold from water intrusion even when surfaces look dry.
Examine the Engine Bay
With the engine cold, check fluid levels and condition: oil should not be milky or gritty, coolant should not appear oily, and brake fluid should be clear to light amber. Look for evidence of leaks — staining around hoses, the valve cover, or the oil pan. Check belt and hose condition for cracking or glazing. Note whether the engine bay appears excessively clean, which can occasionally mean a steam cleaning was done to hide a leak.
Take a Thorough Test Drive
A test drive should include a mix of low-speed urban driving, highway speeds, and at least one hard stop from highway speed in a safe, legal setting. Listen for clunks, rattles, or grinding during acceleration, braking, and turning. Test the transmission through all gears — hesitation, slipping, or rough shifts are red flags. Verify the brakes feel firm and the vehicle tracks straight without pulling. Attempt the drive on a road with varied surfaces to expose suspension noise.
Schedule an Independent Pre-Purchase Inspection
If the vehicle passes your personal inspection and test drive, arrange for a licensed mechanic of your choosing to inspect it before you finalize anything. A pre-purchase inspection typically covers the drivetrain, brakes, suspension, steering components, exhaust system, frame integrity, and fluid conditions in detail. The mechanic's report should inform your final decision — and may provide grounds for renegotiating the price if repairs are needed.
[important_callout]Verify Title and Ownership Documentation
Confirm the seller's name matches the name on the title. Check the title type: a clean title is standard, while a salvage or rebuilt title indicates the vehicle was once deemed a total loss by an insurer. Understand that rebuilt title vehicles may have limitations on insurance coverage and resale value. Ask for any available service records, which can support the maintenance history and mileage claims on the history report.
Odometer Readings Can Be Manipulated
Odometer fraud remains a documented concern in the used car market. If the mileage on the vehicle seems inconsistent with wear on the pedals, seats, or steering wheel, treat it as a red flag. Cross-reference the mileage shown against service records and the vehicle history report to check for discrepancies.
Once your evaluation is complete, what you've learned should guide your negotiation — not just your yes-or-no decision. Repair needs identified during inspection are legitimate grounds for revisiting the asking price. For guidance on what to ask sellers and dealers throughout this process, review the questions worth asking before you agree to anything.
If the vehicle clears your inspection and you're weighing whether a certified pre-owned (CPO) designation adds meaningful value, our CPO vs. standard used vehicle guide explains what those programs typically cover and where they fall short.
This article provides general educational information about used vehicle evaluation and is not a substitute for advice from a licensed mechanic or automotive professional. Vehicle conditions vary widely; always consult qualified experts before making a purchase decision.