Key Takeaways
Summary
28 items · 1.5-3 hours on-site, plus document review time
Why Pre-Purchase Inspection Is Non-Negotiable for Classic Cars
Buying a classic car is fundamentally different from purchasing a modern used vehicle. There are no standardized OBD-II diagnostic ports, no dealer-certified inspection programs, and no manufacturer warranty safety nets. Decades of aging, storage conditions, prior repairs of varying quality, and motivated sellers all create an environment where due diligence is the buyer's primary protection.
Unlike a late-model used car, a classic vehicle's value is shaped by a unique combination of mechanical condition, physical originality, and documentation integrity. A car that looks stunning at a weekend show can conceal serious structural rust, a non-original drivetrain, or a tangled title history. The checklist in this article is designed to walk you through every major inspection category in a logical sequence - so nothing gets overlooked in the excitement of the moment.
For a broader orientation before you get to this stage, the first-time classic car buyer's guide covers how to choose an era, set realistic expectations, and understand mechanical basics. And when it comes to understanding what the paperwork can - and cannot - tell you, our guide to reading a vehicle history report is a useful companion reference.
Matching Numbers Matter - Know What You're Buying
On desirable classics, a 'numbers-matching' vehicle - where the engine, transmission, and other coded components match original factory records - commands a significantly higher value than a 'driver-quality' example with replaced components. Misrepresented numbers can constitute fraud. Verify codes independently against factory documentation or marque registries before finalizing any purchase.
How to Use This Checklist
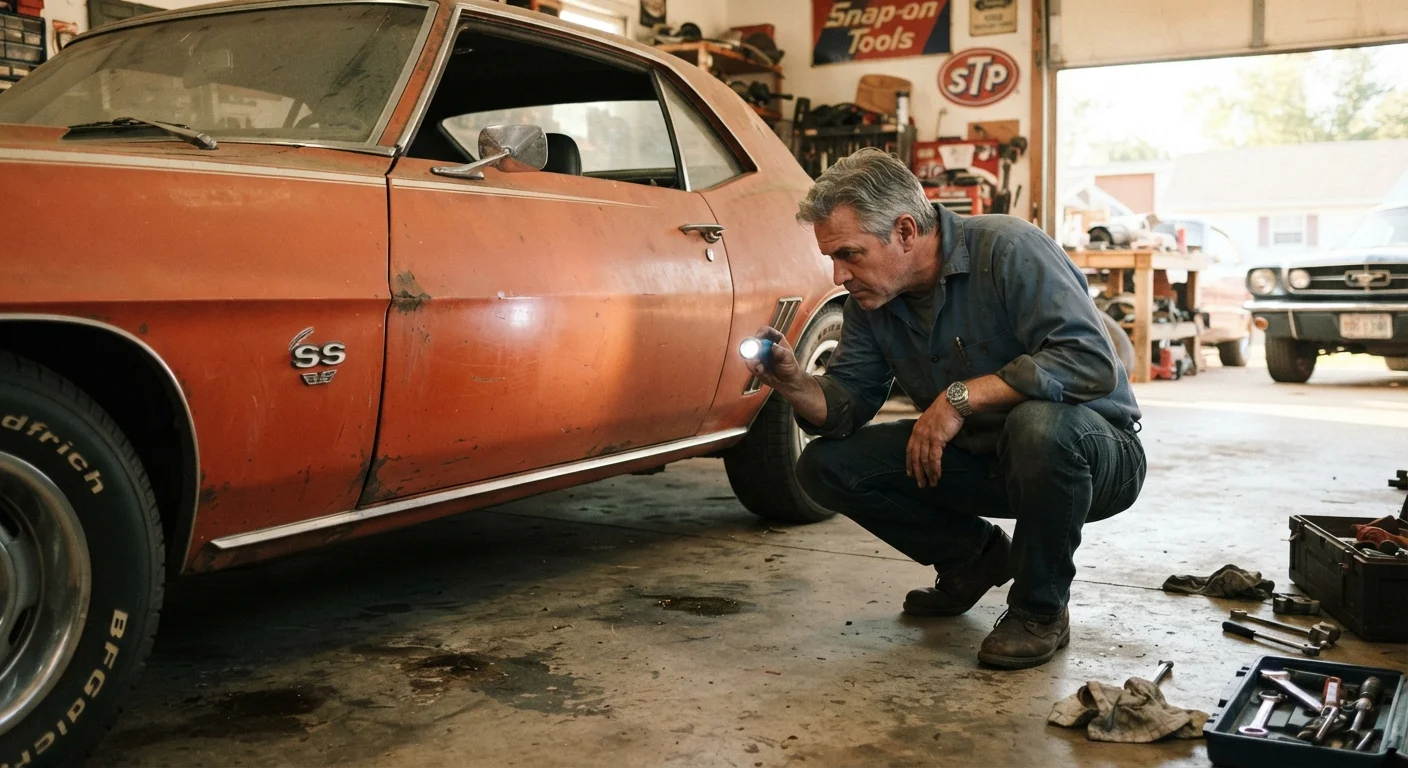
Plan to spend at least 90 minutes on-site for a thorough inspection - more if the vehicle has complex history or apparent restoration work. Bring all the tools listed below, and arrange to inspect the car in good lighting, ideally outdoors in natural daylight or in a well-lit garage with access to a lift or jack stands.
Flashlight or LED Work Light
Illuminate dark areas under the car, inside the engine bay, and within door jambs to spot rust and damage.
Paint Depth Gauge
Detect thick filler or multiple repaint layers beneath the surface without damaging the finish.
Telescoping Inspection Mirror
View hard-to-reach areas like the underside of rocker panels and behind suspension components.
Flathead Screwdriver or Awl
Probe suspected rust areas on floor pans and frame rails - soft spots indicate perforation.
Vehicle History Report Service
Surface title history, reported accidents, odometer discrepancies, and past ownership records.
Compression Tester
Measure cylinder compression to assess internal engine condition - low or uneven readings flag wear or damage.
Magnet (small, non-scratch)
Detect body filler beneath painted surfaces - a magnet will not attract to thick filler.
Work through each category systematically. Resist the urge to skip documentation review because the car looks good in photos - paperwork problems can make an otherwise sound vehicle very difficult to title, insure, or resell. Use the VIN and build sheet decoding guide to interpret factory codes before your inspection visit, so you know exactly what numbers and codes to look for on the vehicle itself.
Documentation Review
Body and Paint
Rust and Structural Integrity
Engine and Drivetrain
Brakes, Suspension, and Steering
Interior and Electrical
Final Verification Steps
Never Skip an Independent Mechanical Inspection
Seller-provided inspection reports or verbal assurances are not a substitute for an independent evaluation. Have a qualified mechanic - ideally one with specific experience in the make and era you're considering - perform a thorough inspection before you commit to any purchase. Costs for a pre-purchase inspection are modest compared to surprise repair bills.
Rust Repair Costs Can Be Severe
Surface rust is manageable, but structural rust in frame rails, floor pans, or rocker panels can require fabrication work that costs more than many classic cars are worth. Do not underestimate repair estimates from sellers - always obtain independent quotes before negotiating.
After the Inspection: What Comes Next
Once you've completed the checklist, compile your findings into a written summary. Note every item that will require attention, and separate cosmetic concerns from mechanical or structural ones - these have very different cost profiles. Get at least two independent repair estimates for any significant issues identified.
If the vehicle passes your inspection but reveals rubber deterioration, failing gaskets, or seals that need attention - a common finding on any vehicle that has sat for years - our article on maintaining aging rubber, gaskets, and seals explains what to expect and how to address it responsibly. Once you've taken ownership, long-term storage preparation is also worth understanding early - see our guidance on classic car storage through winter and idle periods.
Use your inspection findings as a negotiation tool, not just a pass/fail gate. A car with documented, quantifiable repair needs may still represent fair value at the right price - provided you've budgeted honestly. For sourcing parts after purchase, the guide to finding reliable classic car parts walks through the difference between new old stock, reproduction components, and salvage options.
This checklist is for general informational purposes only and is not a substitute for a professional mechanical inspection. Always consult a qualified mechanic with relevant experience before finalizing any vehicle purchase.