

Key Takeaways
Summary
28 items · 45–90 minutes
Why This Inspection Matters Before You Pay
Your security deposit — often one to two months' rent — is a significant sum. The moment you hand it over, the clock starts on your responsibility for the unit's condition. Any damage that existed before you arrived but wasn't documented can legally be charged to you when you leave.
A move-in inspection is the single most effective way to protect yourself. It creates an objective, dated record that separates pre-existing wear and damage from anything that happens on your watch. Many states require landlords to provide a move-in checklist, but even where it isn't legally required, completing one is in your best interest.
If you're new to renting, this guide for first-time renters covers the full picture — from lease terms to utility setup — before you move a single box in. And if you want to understand what happens at the other end of a tenancy, why renters lose their security deposit explains the most common deductions and how to prevent them.
Sign Nothing Until You've Finished
Do not sign a move-in condition form or hand over your deposit until you have completed your entire walkthrough. Any damage you accept on a signed form — even unintentionally — becomes your financial responsibility at move-out. If a landlord pressures you to sign before you've finished inspecting, that is a red flag worth noting.
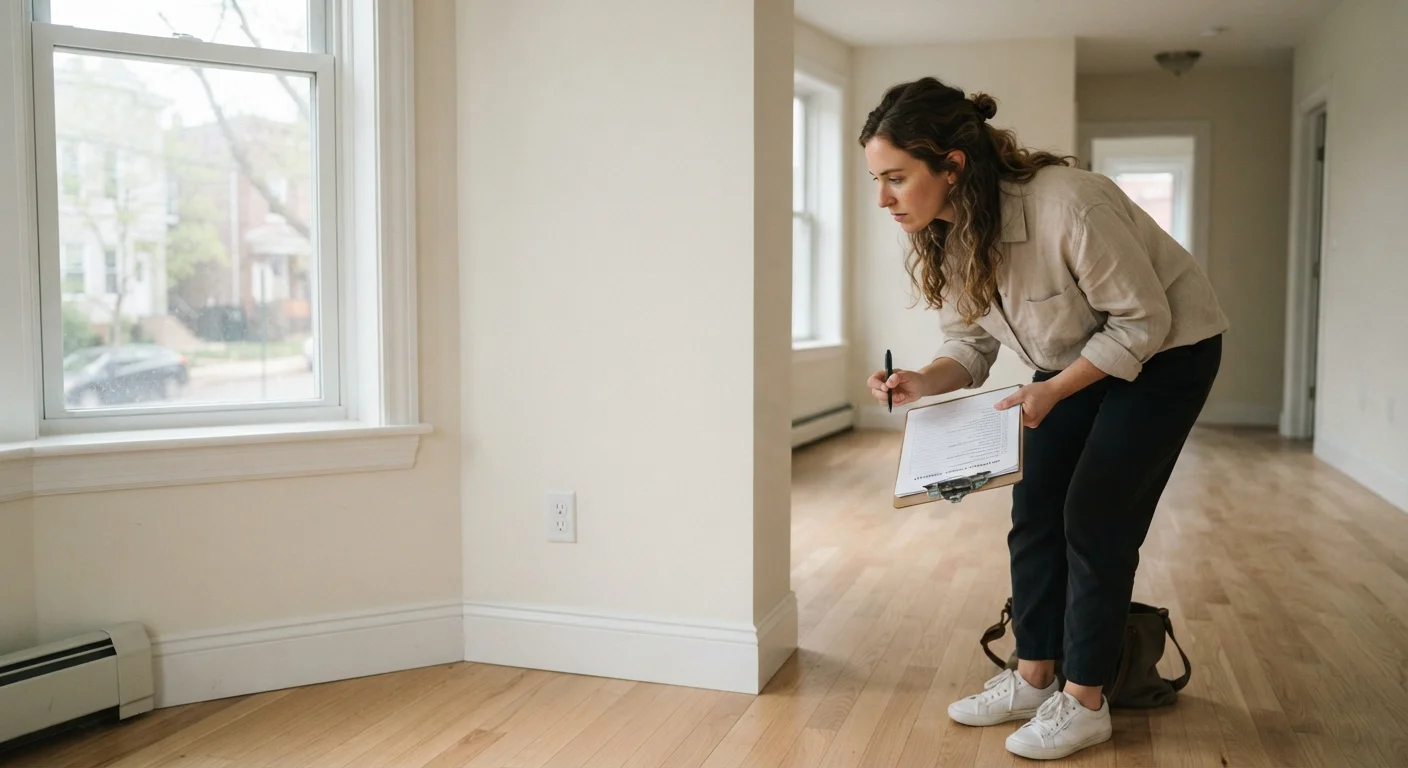
Bring a fully charged phone or camera, a flashlight, and a notepad. Walk through the unit methodically — never rush this step, even if a landlord seems impatient. Once you sign off on a move-in condition form, it becomes your legal baseline.
What You'll Need
Gathering the right tools before you arrive turns a chaotic walkthrough into a systematic audit. Use the checklist below as your inspection kit.
Smartphone with camera
Capture timestamped photos and video of every defect found during the inspection.
Move-in inspection form
Provides a structured, room-by-room record that both renter and landlord can sign.
Flashlight or phone torch
Illuminate dark corners, under-sink cabinets, and closet interiors where damage hides.
Outlet tester (plug-in type)
Quickly verify that every electrical outlet is wired correctly and functional.
Notepad and pen
Record precise location descriptions for each defect alongside your photo log.
Cloud storage or email account
Back up and timestamp all photos and documentation immediately after the walkthrough.
Once you're equipped, move through each room in the order listed in the checklist groups below. Don't skip utility areas like laundry rooms, storage closets, or garages — damage found there is just as chargeable as anything in the living room.
Verbal Agreements Don't Protect You
If a landlord verbally acknowledges pre-existing damage during the walkthrough but doesn't include it on the written form, you have limited protection. Always insist that every defect discussed verbally is written down and initialed before you leave. A landlord's good intentions are no substitute for a signed document.
Room-by-Room Inspection Checklist
Work through every area of the unit systematically. For each item you flag, note its location precisely (e.g., "north wall, 18 inches from window"), photograph it from two angles, and write a brief description. Vague notes like "wall damage" won't hold up as well as "3-inch paint gouge near light switch, master bedroom."
Before You Begin
Walls, Ceilings & Floors
Doors, Windows & Locks
Kitchen & Appliances
Bathrooms
Electrical, Plumbing & Safety
When you finish, compile your notes and photos into a single document — many landlords provide a printed form, but a shared cloud folder or email thread with timestamped images works equally well as supporting evidence.
After the Walkthrough: Locking In Your Documentation
Completing the walkthrough is only half the job. What matters legally is that the record is acknowledged by both parties.
- Send a written summary to your landlord within 24–48 hours of the walkthrough, even if you also signed a paper form. An email creates a timestamped digital record.
- Request a countersignature on any paper form. Keep a copy regardless of whether the landlord signs — your dated photos and email trail still carry weight.
- Store everything in a dedicated folder you won't accidentally delete. Cloud storage with a clear label (e.g., " Move-In Photos — ") is reliable.
- Note any items the landlord promises to fix before or shortly after move-in. Get repair commitments in writing — a text message or email is sufficient.
This documentation strategy complements the same careful thinking you'd apply when evaluating a property before making an offer — the principle is identical: observe, record, and ask questions before committing.
Finally, revisit your inspection report periodically during your tenancy. If new damage occurs, document it promptly and notify your landlord in writing. A well-maintained paper trail throughout your lease — not just at the start and end — is the most reliable protection you have.