

Key Takeaways
Why Winterization Is Non-Negotiable
Water expands when it freezes - and inside an RV's confined plumbing system, that expansion has nowhere to go. Even a small volume of water left in a supply line, pump, or water heater can crack fittings, split hoses, or fracture the tank itself once temperatures drop below 32°F. Unlike a home where pipes may be insulated and heated, an RV's plumbing runs through thin-walled compartments that offer little thermal protection once the heat is off.
The cost of skipping winterization isn't hypothetical. Burst water lines, cracked pump housings, and delaminated walls from prolonged moisture exposure are among the most common - and expensive - repair claims associated with improper storage. For owners who use their RV seasonally, proper preparation before the cold months is simply part of responsible ownership. If you're newer to RV life, understanding common RV ownership misconceptions can also help you set realistic expectations about maintenance demands.
Skipping Steps Can Mean Thousands in Repairs
A single burst water line from an incomplete winterization can cost anywhere from several hundred to several thousand dollars in parts and labor to repair. Freeze damage to a water heater tank or pump is similarly costly. Take your time and follow each step completely before storage.
Winterization requirements vary somewhat by RV type and configuration. A Class A motorhome with a diesel chassis has different considerations than a lightweight travel trailer, so always cross-reference these steps with your owner's manual. For additional seasonal vehicle prep guidance that goes beyond RVs, see seasonal vehicle preparation tips.
What you will need
Step-by-Step: Winterizing Your RV
The process below covers the core systems found in the vast majority of recreational vehicles - from travel trailers to Class C motorhomes. Work through each step in order; skipping ahead can leave systems partially unprotected.
RV-Safe Antifreeze (Propylene Glycol)
Introduced into plumbing lines and traps to prevent residual water from freezing and cracking pipes or fittings.
Water Pump Converter Kit
Connects to the water pump intake so it draws antifreeze from a jug directly into the plumbing system.
Air Compressor with Blow-Out Plug
Used as an alternative to antifreeze - compressed air expels water from plumbing lines before storage.
Tire Pressure Gauge
Verifies correct inflation before storage to reduce flat-spotting risk over long idle periods.
Battery Maintainer or Trickle Charger
Keeps house and chassis batteries at a safe charge level during months of storage to prevent sulfation and early failure.
Desiccant Moisture Absorbers
Placed inside the RV cabin to reduce interior humidity, preventing mold and mildew growth during storage.
Label Your Valves Before You Start
RV plumbing systems vary significantly by manufacturer. Before draining, identify and label each drain valve, low-point drain, and bypass valve on your unit. Consulting your owner's manual during this step prevents costly mistakes and makes the process much faster.
Drain and flush the fresh water tank
Locate the fresh water tank drain valve - typically on the underside of the coach - and open it fully. Run the water pump briefly to push residual water through the system, then switch the pump off before the tank runs dry. Flush the tank with clean water and drain again before closing the valve.
Drain the water heater
Turn the water heater to the off position and allow it to cool completely - never drain a hot water heater, as the pressure and temperature create a burn risk. Remove the anode rod or drain plug and allow the tank to empty fully. Leave the plug out during storage to prevent residual moisture from sitting inside the tank.
Open low-point drains
Most RVs have one or two low-point drain valves - one on the hot side and one on the cold - typically located on the underside of the coach near the water lines. Open both and allow gravity to drain as much water as possible from the supply lines. This step reduces the volume of antifreeze needed and ensures better coverage.
Introduce RV antifreeze into the plumbing system
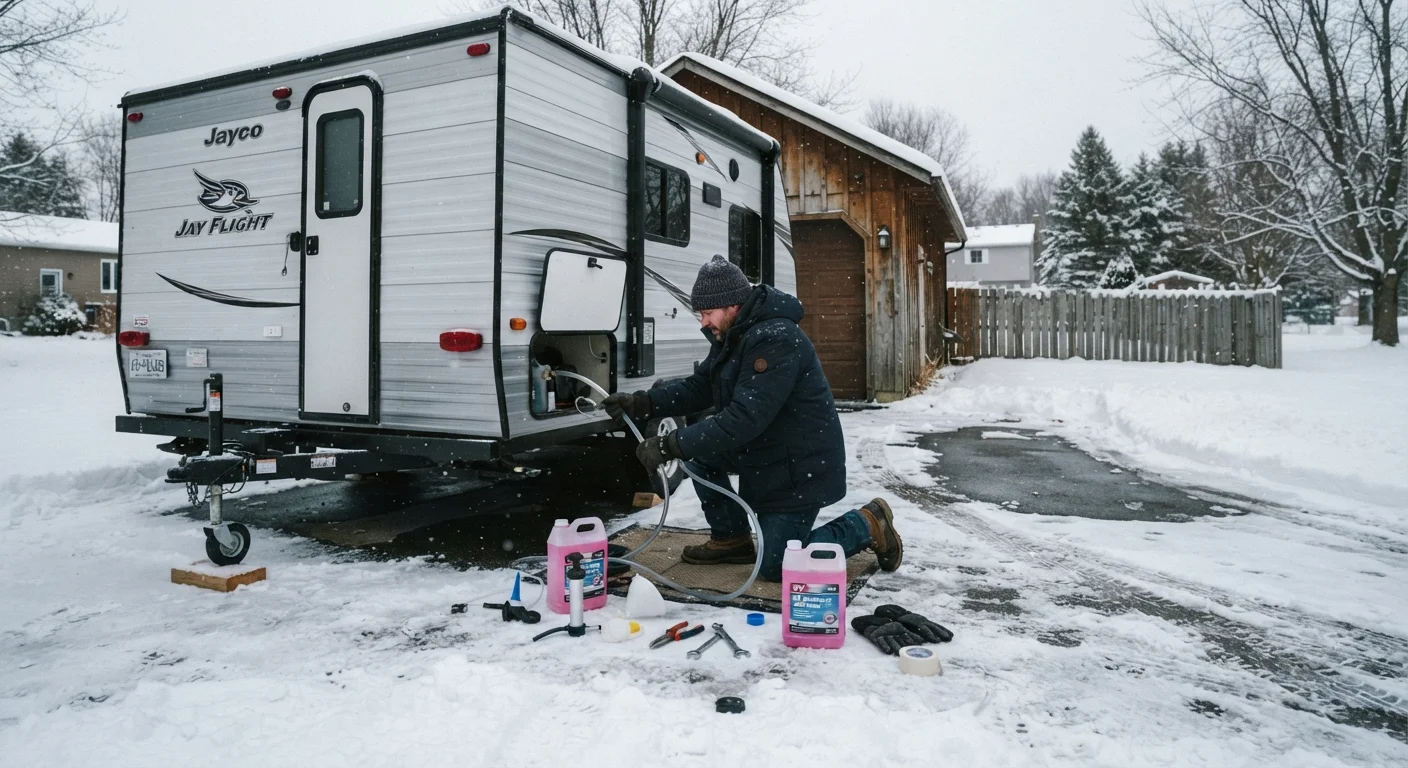
Install a water pump converter kit onto your pump's intake line, then place the pickup tube into a jug of RV-safe antifreeze. Turn on the water pump and open each faucet - hot and cold - one at a time, starting with those farthest from the pump, until pink antifreeze flows steadily. Include the shower, toilet, outdoor shower, and any ice maker line. Pour a small amount of antifreeze directly into each drain trap, including the kitchen sink, bathroom sink, and shower drain.
Flush and treat the holding tanks
Empty both gray and black holding tanks at an approved dump station before storage. Rinse the black tank using the built-in tank flush if equipped, or a wand flusher through the toilet. Once empty, add a small amount of RV-safe tank treatment and a little water to keep seals from drying out. Close all drain valves after treatment.
Prepare the battery system
Disconnect the battery from the RV's 12-volt system if it will not be on shore power during storage. Check the battery's state of charge and top it off before storage. Connect a battery maintainer or trickle charger to prevent discharge-related damage over the storage period. If storing in extreme cold, consider removing the battery and storing it in a temperature-controlled space.
Inspect and seal the exterior
Walk the entire exterior and inspect all roof seams, slide-out seals, window seams, and around any vents or antennas. Apply compatible sealant to any cracked or separating seams - water intrusion during storage can cause rot, mold, and delamination. Cover roof vents with vent covers designed for storage to block pests and moisture while still allowing some airflow.
Address tires, propane, and the interior
Inflate tires to the maximum recommended cold inflation pressure listed on the sidewall or in the owner's manual - tires lose pressure slowly over months. If possible, use tire cradles or move the RV periodically to prevent flat-spotting. Turn off the propane at the tank valve. Inside, remove all perishables, clean the refrigerator and leave its doors propped open, and place several desiccant moisture absorbers throughout the cabin to combat humidity during storage.
Never Use Automotive Antifreeze in RV Plumbing
RV-specific antifreeze (typically propylene glycol-based, rated for drinking water systems) is the only safe product for winterizing potable water lines. Automotive antifreeze is ethylene glycol-based and is toxic. Using the wrong product can contaminate your water system and require costly remediation before the RV is safe to use again.
Once all systems are addressed, do a final walk-through: check that all windows and roof hatches are latched, exterior compartments are locked, and slide-outs are fully retracted. If your RV will be stored outdoors, a quality breathable cover can reduce UV degradation and keep debris off the roof. Owners who find any step beyond their comfort level should consider having a qualified RV service technician complete the winterization - the cost is typically modest compared to the repairs a missed step can cause.
Planning to store a classic vehicle alongside your RV? The approach differs considerably - see how classic car winter storage compares in scope and method.