Key Takeaways
Why Storage Preparation Matters for Classic Vehicles
A classic car sitting idle is not simply a car at rest - it is a machine actively subject to chemical, biological, and environmental processes. Fuel degrades, rubber compounds dry and crack, moisture migrates into metal surfaces, and small animals seek warm, sheltered spaces. For a vehicle whose parts may be difficult or expensive to source, preventable storage damage represents a real ownership cost.
Classic vehicle ownership carries genuine rewards, but it also demands proactive care - and storage season is among the highest-stakes periods in that care cycle. The steps below apply whether you are preparing for a three-month winter or an extended period of non-use at any time of year.
What you will need
Fuel Stabilizer
Prevents gasoline - especially ethanol blends - from oxidizing and leaving gum or varnish deposits in the fuel system during storage.
Battery Tender / Trickle Charger
Maintains battery charge at a safe level without overcharging during weeks or months of inactivity.
Breathable Car Cover
Protects the paint from dust and surface abrasion while allowing moisture to escape rather than trap beneath the cover.
Desiccant Packs or Moisture Absorbers
Reduce ambient humidity inside the vehicle cabin and under the cover to limit rust and mildew formation.
Tire Pressure Gauge
Used to inflate tires to the upper end of the recommended range before storage to reduce flat-spotting.
Steel Wool or Rodent Exclusion Plugs
Block openings such as exhaust tips and air intakes to prevent rodent entry during storage.
Vapor Barrier (Plastic Sheeting)
Placed under the vehicle on a concrete floor to block ground moisture from migrating upward into the undercarriage.
Step-by-Step: How to Properly Store a Classic Car
Follow these steps in order. Some - like the oil change and fuel treatment - are most effective when done immediately before the car goes under cover, not weeks before. The entire process typically takes one to four hours depending on the vehicle and your setup.
Perform a pre-storage inspection
Before putting the car away, walk through it systematically. Look for fluid leaks, cracked hoses, worn belts, and any rust beginning to form on the undercarriage or body panels. Address problems now - they tend to worsen during storage, and a small seeping gasket can become a significant mess by spring. Pay particular attention to rubber seals and gaskets, which are especially vulnerable on older vehicles.
Change the oil and filter
Used engine oil contains combustion byproducts, acids, and moisture that can corrode internal engine components if left sitting for months. Change the oil and filter immediately before storage - not before the last drive, but right before covering the car. Run the engine briefly after the change to circulate the fresh oil throughout the system, then shut it down.
Treat the fuel system
Add a fuel stabilizer formulated for gasoline engines - following the manufacturer's dosage instructions - to a full tank of fresh fuel. A full tank reduces the air space where condensation can form. Run the engine for 10-15 minutes to ensure the treated fuel reaches the carburetor or fuel injectors. Modern pump gasoline, particularly ethanol blends, can begin to degrade in as little as 30 days, leaving behind varnish deposits that clog jets and passages.
Manage the battery
A conventional lead-acid battery left unattended will self-discharge and sulfate, often rendering it unrecoverable. Either disconnect the negative terminal and store the battery in a cool, dry location - or connect a battery tender (also called a maintainer or trickle charger) that monitors and tops up the charge automatically. Many classic car owners prefer the tender approach because it keeps the battery conditioned without the need to reinstall it in spring.
Inflate tires and address flat-spotting risk
Inflate all tires to the upper end of the manufacturer's recommended pressure range. This helps the tire maintain its shape under the vehicle's static weight. On vehicles stored for six months or longer - particularly those with older or harder rubber compounds - flat-spotting (a temporary or permanent deformation of the contact patch) is a genuine risk. Consider placing the vehicle on jack stands if you have a safe, stable setup and intend to store it for more than three months. Remove the wheels entirely only if you have appropriate storage for them.
Seal against moisture and rodents
Place a vapor barrier - heavy plastic sheeting - beneath the vehicle if it is sitting on a concrete floor. Concrete is porous and releases ground moisture that can accelerate undercarriage rust. Inside the cabin, place desiccant packs to absorb humidity. Plug the exhaust pipe(s) and the air intake opening with steel wool or purpose-made foam plugs to block rodent entry. Leave a visible indicator (a brightly colored rag or tape) at each plug so you cannot forget to remove them before starting the engine.
Cover the vehicle properly
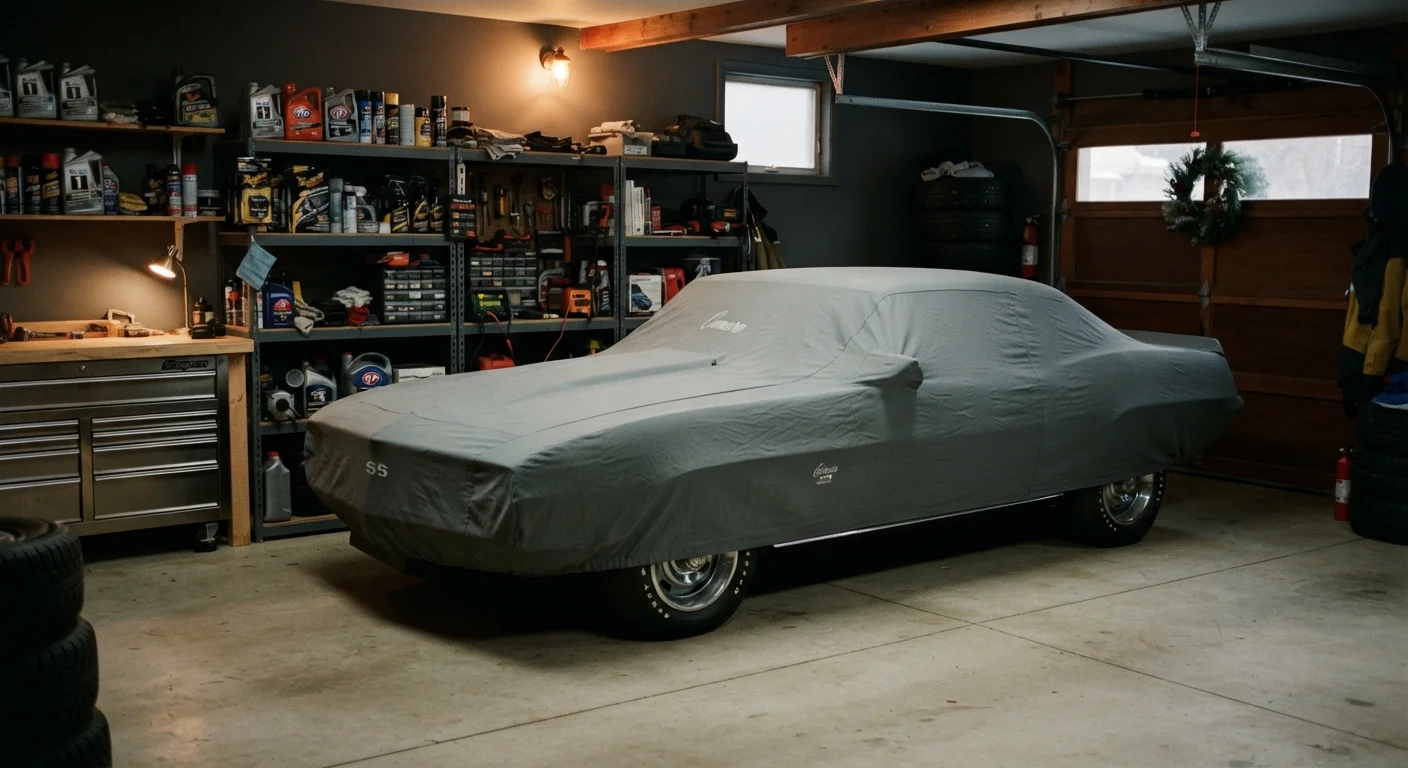
Use a breathable, fitted cover designed for indoor use. Waterproof covers trap moisture against the paint and can cause more harm than no cover at all in an enclosed garage. A breathable cover allows vapor to escape while blocking dust and preventing surface abrasion. Do not use a standard plastic tarp against the paint surface. If the car is in a professionally managed storage facility, confirm the cover type is appropriate for the environment.
Never Start and Idle a Stored Engine Briefly
A common myth holds that starting a stored classic occasionally 'keeps it fresh.' In reality, brief idling without reaching full operating temperature introduces moisture into the oil and exhaust system without burning it off. Either drive the vehicle properly for 20-30 minutes or leave it fully stored. Repeated short-cycle starts do more harm than simply leaving the car alone.
Choosing and Managing Your Storage Environment
The storage location has nearly as much impact as the preparation steps themselves. An enclosed, climate-controlled garage is the gold standard - it limits temperature swings that accelerate rubber degradation and cause metal to expand and contract repeatedly. If climate control is not available, an insulated space is the next best option.
Outdoor storage under a canopy or tarp is significantly riskier. Wind-driven rain, UV exposure, and temperature extremes compound over months. If outdoor storage is unavoidable for a short period, use a high-quality outdoor cover with UV inhibition and secure it tightly against wind lift.
Concrete Floors Accelerate Corrosion
Many enthusiasts store classic cars directly on concrete garage floors without realizing that concrete absorbs and releases ground moisture. Over a long winter, this can cause surface rust on the underside of the vehicle. A vapor barrier or purpose-made car storage mat under the vehicle significantly reduces this risk.
Professional storage facilities designed for collector vehicles offer a controlled environment and added security, which may be worth considering for high-value vehicles. Verify the facility's climate control, security protocols, and - critically - their insurance terms before committing. For a broader look at how seasonal prep applies across vehicle types, see our guide on seasonal vehicle preparation.
Review Your Insurance Coverage Before Storage
Some specialty classic car policies have specific storage requirements - such as keeping the vehicle in a locked, enclosed structure - that must be met for coverage to remain valid. Review your policy terms before the storage season and confirm whether any usage or mileage conditions change during an extended idle period. Our overview of classic car insurance covers how these policies typically work.
Bringing the Car Out of Storage
Before the first spring start, work through a short checklist. Remove all plugs from the exhaust and intake. Reconnect or reinstall the battery. Check tire pressures and inspect sidewalls visually. Look under the vehicle for any fluid that may have dripped or seeped. Check the engine oil level and look for signs of contamination - oil that appears milky or has a visible water sheen may indicate a head gasket issue that developed during storage.
Do not attempt a long drive immediately. Start the engine and allow it to reach full operating temperature with the vehicle stationary. Listen for unusual sounds, watch temperature and oil pressure gauges, and check again for leaks once it has warmed. A short local drive before any extended use lets you identify any issues that developed during the idle period. For guidance on evaluating a vehicle's overall condition in detail, the pre-purchase inspection checklist applies many of the same principles.